
Bring your Photoshop designs to life by importing your layers into After Effects
One of the best features of Adobe’s Creative Cloud is the ability to import layers and elements between programs. You can prepare your designs in Photoshop and import the layers into After Effects for animation. Once you know how to prepare your files for the transition, the process becomes a whole lot easier.
Photoshop is a great place to create designs you can then animate in After Effects. The techniques we’ll be covering should work with pretty much anything you can create in the recent versions of Photoshop and After Effects. Knowing how to properly set up your designs in Photoshop is crucial for keeping the import process smooth and easy. We’ll be covering those techniques in another upcoming tutorial, so for today, enjoy this nicely-prepared file in case you’d like to follow along!
{{lead-magnet}}
After Effects is an application with a lot of options, which means that you might have several different ways to approach something … and which one is best may depend on what you’re doing. So, we’ll be exploring the different methods you can use to bring your layered Photoshop file into After Effects, and why you might choose different ones at different times.
How To Import Photoshop Files into After Effects
Remember how I said that After Effects has a lot of options? Well, there are several different ways to even just import a file! They all pretty much do the same thing, so you’re free to use whichever one you like.
Import File / Import Multiple Files
First up is the simplest path. Go to File > Import > File…
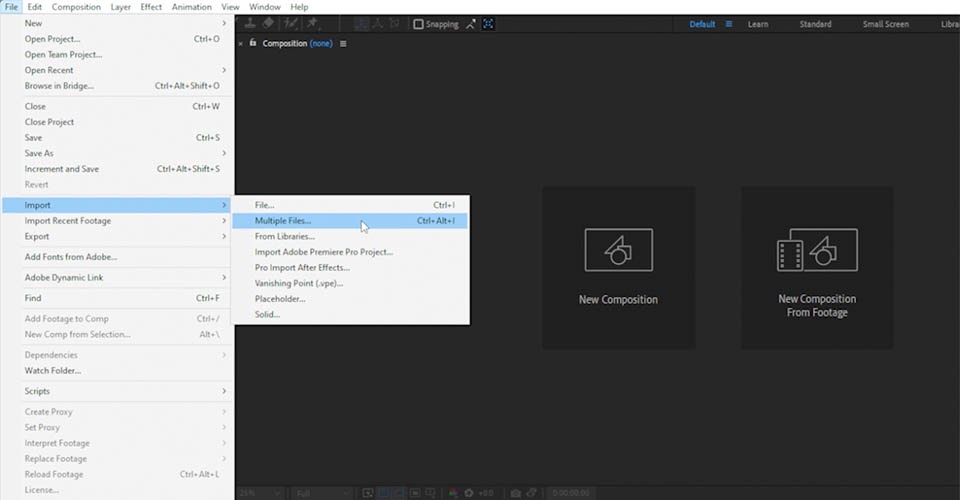
This is handy if you need to grab a specific file or a group of files for a composition. Once you select your file and click Import, you’ll see a pop-up window, which we’ll talk more about in a moment.
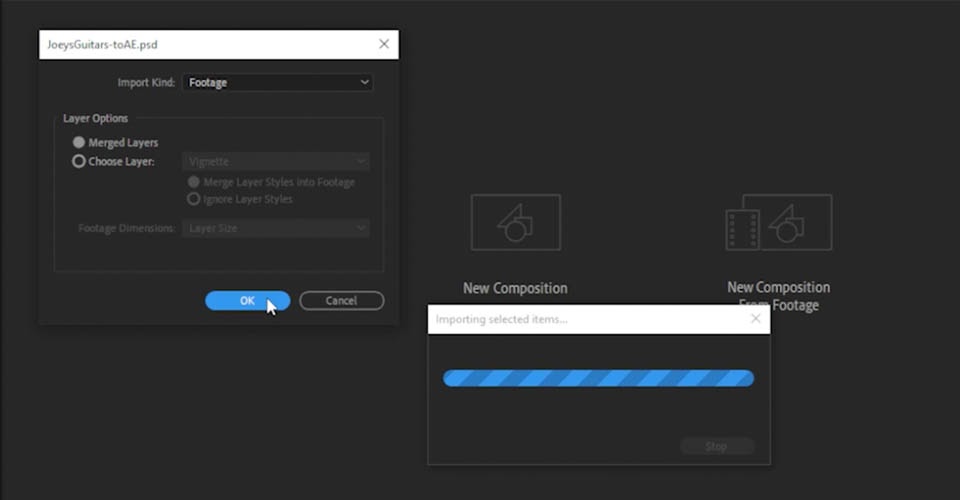
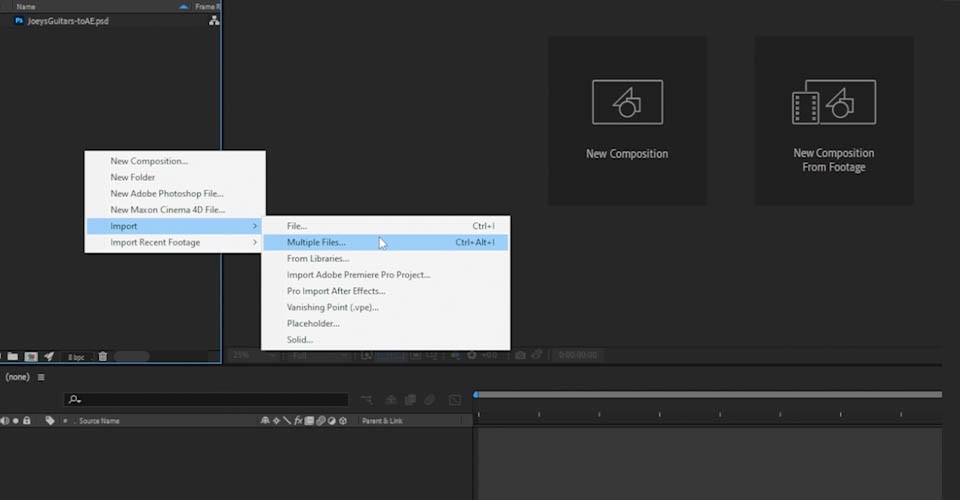
You can also left-click in the bin on the left side of your screen and select from the same options.
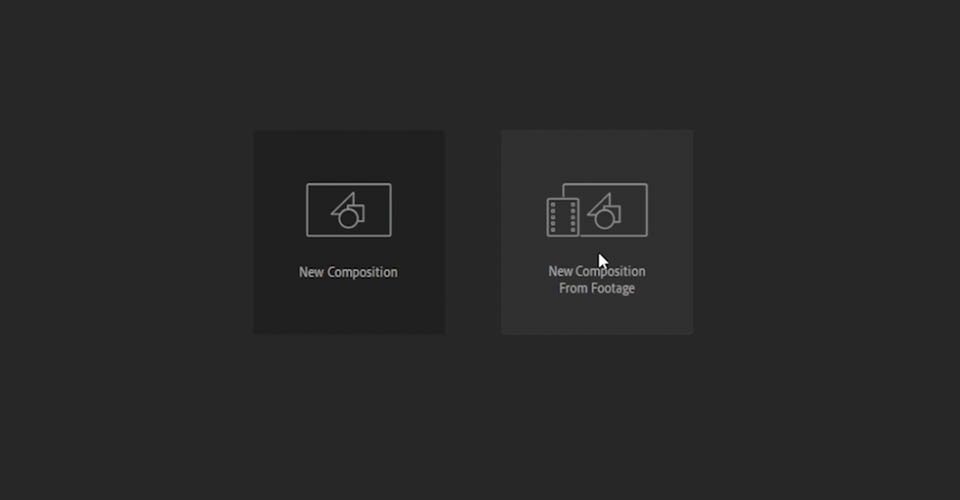
New Composition from Footage
If you haven’t opened a new composition yet, you can select New Composition From Footage and bring in your files that way.
Libraries > Add to Project
If your file is in a CC Library, you can simply right-click on it and select Add to Project.
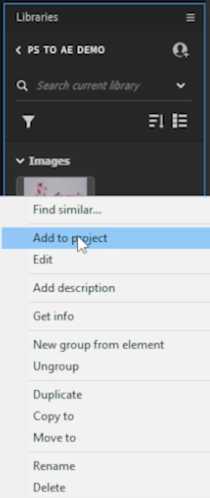
Alternatively, you can select the item in your CC Library and drag it directly into your Project Panel or an existing composition.
Drag and Drop
Lastly, you can just drag and drop the file from your File Browser. (This is usually my go-to method!)
Whew! Most of those methods will trigger that browser pop-up window I mentioned, so let’s take a look at the options in there.
File Browser Pop-Up (OS-Specific)
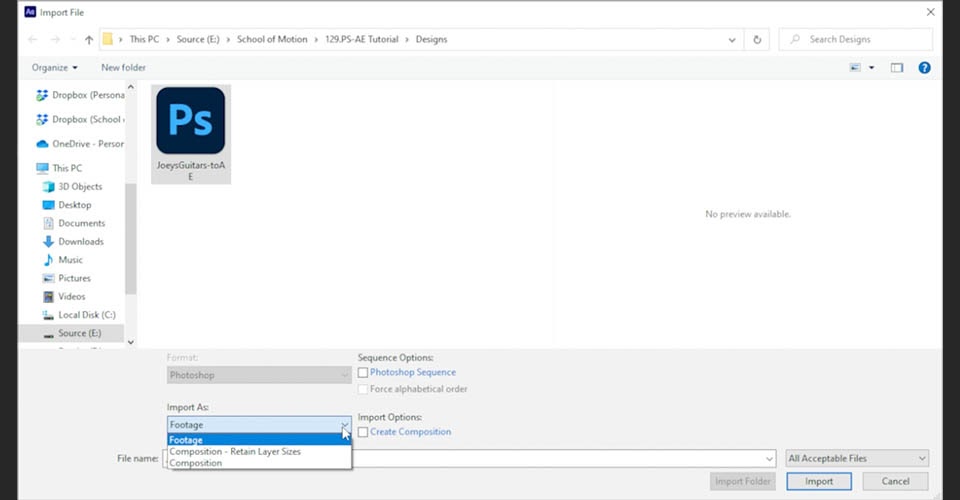
Since this isn’t an image sequence, make sure Photoshop Sequence is unchecked. You also have the option to import as Footage or a Composition. However, this dropdown menu is actually redundant, so you can usually ignore it. As soon as you select the file and click Import, you’re sent to this next pop-up, where the important decisions begin.
Importing a Photoshop File as (Flattened) Footage
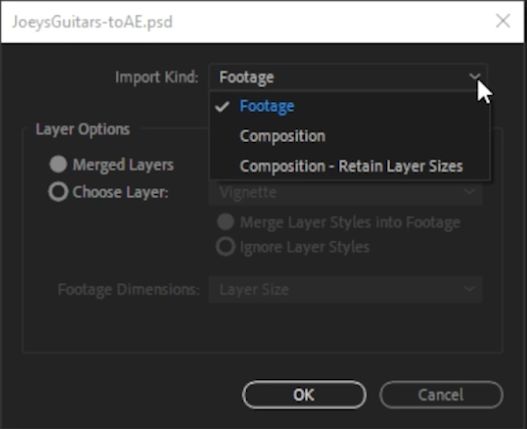
After Effects wants to know how you’d like to import your file. This time, we’re choosing Footage, which will import the entire Photoshop document as a single flattened image. Now we can bring that file into either an existing or new composition.
I have my image imported into After Effects, but as I said, it’s just a flattened image, without many options. However, this is still linked to the original Photoshop file.
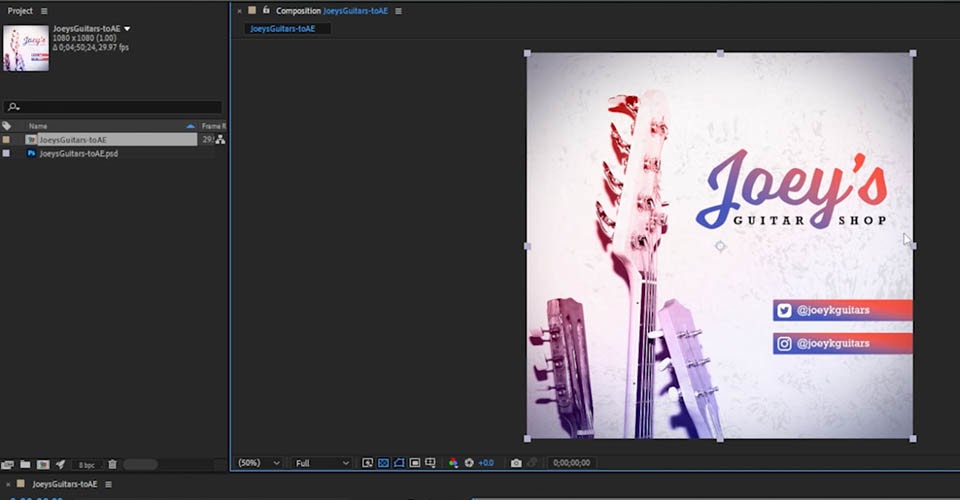
If I go back to Photoshop, make a change, and save the file, those changes will then be reflected in After Effects. This makes quick touch ups to the design super simple.
However, this means you’ll need to operate in two different programs to properly affect your composition, which can be more work than you’d like. Instead, let’s import the file in a different way so we can manipulate it within After Effects.
Importing Separate Photoshop Layers into After Effects
Let’s get rid of everything else and start fresh. Import your file in your preferred method, only now you’ll select Import Kind > Composition - Retain Layer Sizes.
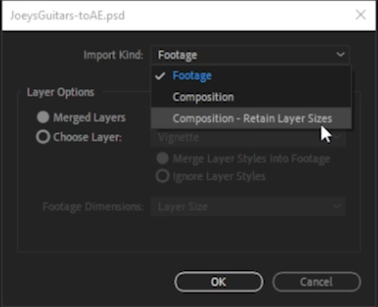
You’ll also see your Layer Options change, allowing you to keep Photoshop Layer Styles editable or merge them into the layers. This is situationally dependent, so you’ll need to make that decision based on your design.
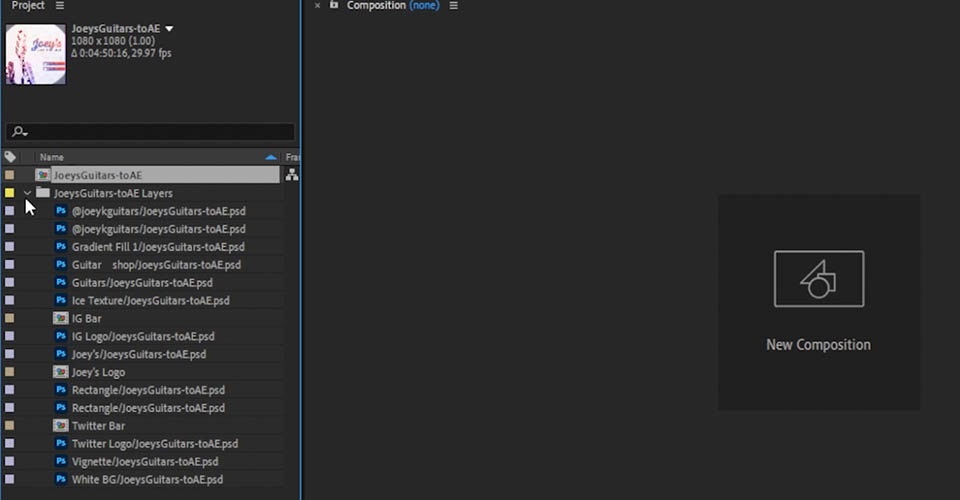
Now After Effects has created two items: A composition, and a folder containing all of the layers within that composition. AE will set the duration and framerate based on either the footage imported, or—since we are using still images—based on settings of the last composition you used.
A quick note about your Timeline. The layer order should be the same as it was in Photoshop, but there are some differences. In Photoshop, collections of layers are called Groups, and they are useful when applying Masks and Filters. In After Effects, they are called Pre-Compositions, and there are a number of ways to use them beyond what you can do in Ps.
In some ways, precomps are almost more like Smart Objects, in that they aren’t really immediately accessible without actually diving into them, in a way that leaves you unable to see the other parts of your project structure.
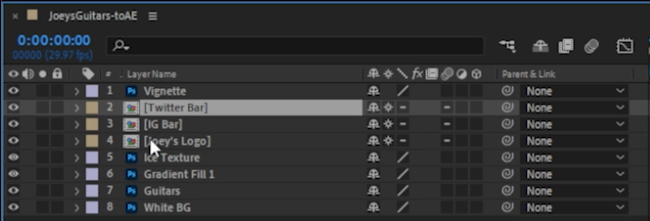
You also may notice that some elements don’t import exactly the way they look in Photoshop. In this case, our vignette isn’t feathered properly, but fortunately that’s an easy adjustment. Make sure to take some time once you’ve imported your layers to check that everything looks the way you want. Importing a reference export of your Photoshop design is a great way to double-check yourself. This is the base from which you’ll build your animation.
Since we imported these at Layer Size, you’ll also notice that the layers each have their own individual bounding boxes, referring to the visible areas of the image layer, and each layer’s Anchor Point will sit at the center of that specific bounding box. Some features, such as Photoshop’s Layer Masks, will actually affect the size of the bounding box After Effects will detect, so it’s important to make those decisions before proceeding with animation.
This method means you might need to do a bit more forethought in Photoshop, but gives you access to the full layer size after importing to After Effects. Animation often involves moving layers around, so having access to the full layer is usually very helpful.
Import Photoshop Files as a Composition (Document Size)
There is one final import method to discuss, and that is importing as a composition. I wish they’d named this Composition - Document Size, because that’s what it does!
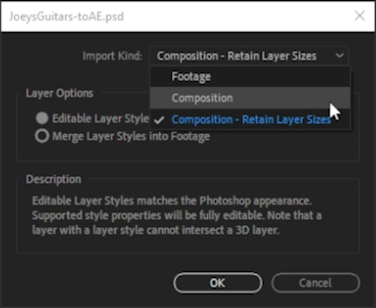
Once you have imported your layers, you’ll notice a major difference from our previous importing method. Instead of a variety of bounding boxes, the image layers are all locked at our composition size, and every layer’s Anchor Point will be at the center of the composition. This means any post-import mask or position changes you make in your Photoshop file won’t affect that layer’s bounding box or sizing in After Effects, but it also means you may have a lot less flexibility in animation.
Changing layers in your composition in After Effects
If you make changes to your project in Photoshop, such as renaming layers, After Effects should be able to keep up. However, if you delete a layer from your Photoshop file, After Effects will be upset with you and consider that layer to be missing footage.
Similarly, if you add a new layer to your Photoshop file, it won’t automatically show up in After Effects—the link only sees the layers that existed when you originally imported it. If you want to add a new layer or element, you’ll need to either re-import the file or add the element in à la carte. Make sure to check out the full tutorial for more pointers on which importing methods will make the most sense for your project.
Time to Kickstart Your Designs with After Effects
And if you want to take your designs and bring them to life, then you’ll need to dive deeper into everything After Effects can do. That’s why we’d recommend looking at After Effects Kickstart!
After Effects Kickstart is the ultimate After Effects intro course for motion designers. In this course, you'll learn the most commonly used tools and best practices for using them while mastering the After Effects interface.


